
New or experienced creatives alike, we all benefit from experimentation and play in our work. Welcome to the digital resource hub for MMM: Spooky Linocut Stamp Carving! Here you can find the techniques we learned in-workshop, and for your future reference.
Didn’t make the workshop? No big deal! I hope these Intro to Linocut Printmaking resources inspire you to learn something new, try something out, or share with someone who might enjoy the same!

Did you know that printmaking was an art form developed over 2000 years ago? The printing press was modelled after hand printing techniques- and went on afterword to revolutionize art and literature!
One of the many benefits of printmaking is the ability to print editions, or multiples of prints quickly. Despite each print having the same design, no two prints are alike! Each one has a slightly different texture, pressure application, and ink load. It’s for this reason that each print you make will be unique! Don’t get discouraged over slight “mistakes”. Each mistake is the mark of your human touch. And if its REALLY that bad (it won’t be), we can touch it up with a paintbrush 😉

Linocut Tools
There are a variety of linocut tools and inks! From wooden to “speedy” carving tools, oil based and water based inks, brayer types, and differing carving mediums, linocut’s limited supplies make for an accessible printmaking method.

Design tips:
- For beginners, keep it simple! A simple design repeated makes a beautiful pattern.
- Think about negative space! Negative (white) space will be carved out. Fine details will be more challenging to carve.
- Consider your available resources. Printmaking is image transferring! We can transfer images from books, magazines, doodles, or even our phone. Take advantage of the tools available to you. Can’t draw your favorite logo or iconic imagery? Image transfer it! Andy Warhol did it and so can you. 😉

Design Strategy
Don’t be afraid to experiment with different image transfer techniques to see what feels right for you. Are you more of a planner? Perhaps you skletch out your design to play before transferring. Are you more interested in tecnique, and just want to get started? Perhaps you transfer a ready-made design.
Carving Tips:
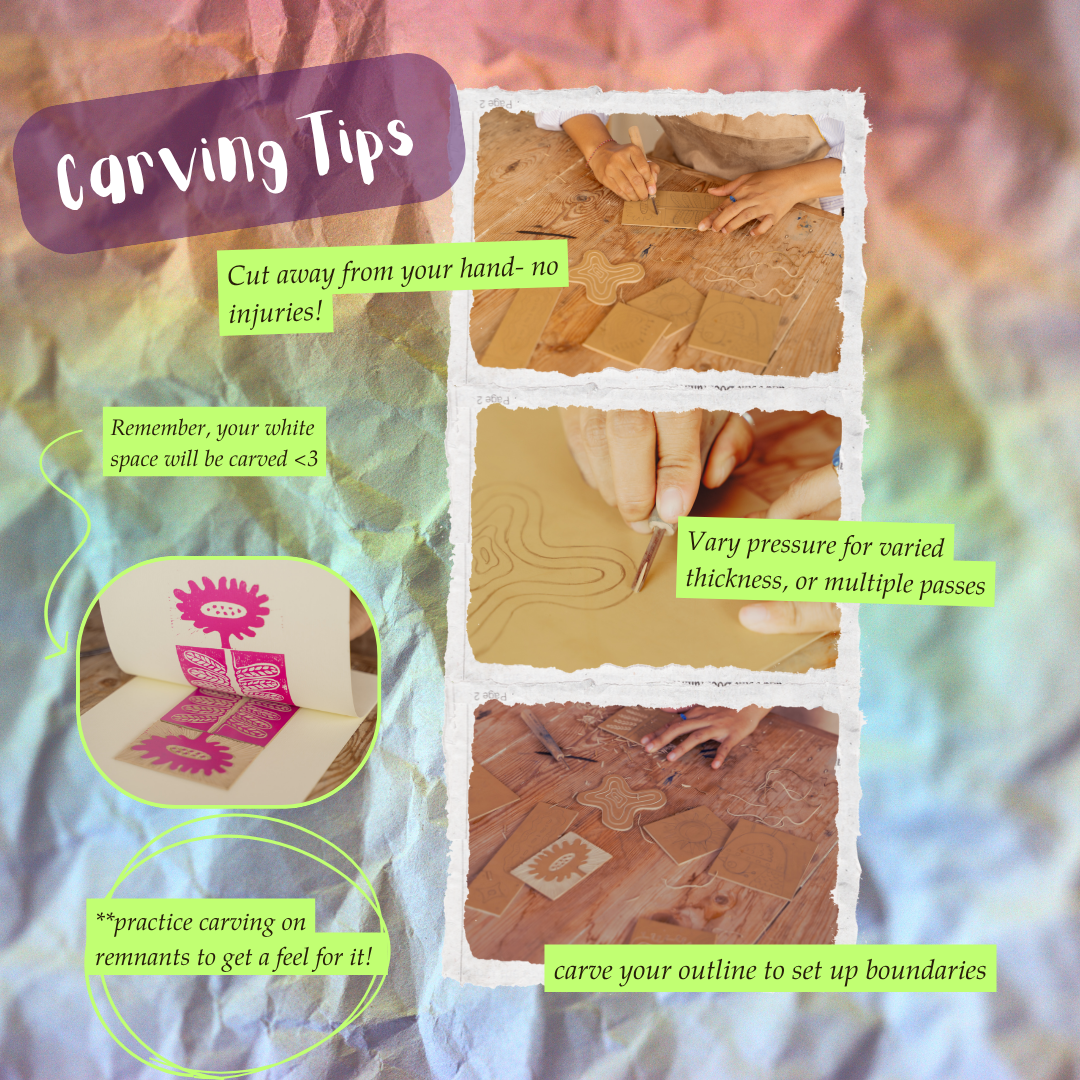
- Safety first. Always cut away from your hand to avoid injury.
- Remember: your negative (white) space will be carved out! Sometimes it’s easy to flip flop this. (Although, it always ends up turning out cool, so don’t fret if you forget!)
- Vary pressure for varied line thickness. Alternatively, you could go over your lines multiple times for the same effect.
- I recommend carving out major outlines and shapes before you get into details. It helps remind you of your carving boundaries when you are in the zone.

Ink Tecniques:
- Roll out a dime sized blob of your ink on your ink tray, glass sheet, or any non-porous material. Your ink will feel slightly sticky, and “even” when it has been rolled properly. This is hard to explain, and something you truly have to feel out. You’ll know, I promise!
- Roll your fresh evenly-loaded brayer onto your carving. DOn’t be afraid to apply liberally here. You could even go back to your ink tray to pick up more ink if it feels right.
- Different ink loads yield different stylistic results! a lighter ink application brings out great texture. A heavier application yields a more solid print. There is no wrong way to approach this, I’s encourage you to experiemnt on scrap paper to see what you like!
- Consider: dabbing a sponge brush to apply ink. This adds another layer of subtle texture to your print.
Thanks for coming along on our latest Mixed Media Adventure! There are still a few limited seats available for Spooky Lino printing Workshop @ The Artery, should you feel inclined to join us in person!
If you are joining us from afar, share your favorite experiences with printmaking in the comments!
Don’t forget to subscribe to our newsletter for first dibs on events, workshops, art resource packs, and general shenanigans.
See you next time! Xo